Showing posts with label yeast. Show all posts

Season's Eatings

'Tis that time of year again... when I take a weekend out of my so busy life and dedicate a few days to creating edible gifts to express my love and appreciation for those close to me. This year made a set of four flavored salts:

- Pomogranete
- Vanilla
- Sriricha
- Lemon Lavendar

I also handmade cards to send with these small tokens of affection. Unfortunately, I was so busy drying salt that I forgot to take pictures of the process. I am out of practice on the food blogging front. I've been a busy bee outside of the kitschen! However, the whole thing is pretty simple. Take some salt, add the flavor you want into it and (if needed) dry it out in the oven. The times when you need to dry out the salt mixture is when you add a liquid (duh!!!). Making vanilla salt is similar to making vanilla sugar... take a bean, split, scrape and mix. No drying required. When drying the other salts I pre-heated the oven to 350, spread the mixture on a baking sheet and then turned off the oven once I placed the salt inside. It usually takes less than 10 minutes in the oven but, be sure to check because you don't want your salt mixture to burn!

On the home front I tried to keep things simple. I decided to make the no knead sticky buns I made a year or so ago. I am happy to report my continued attempts to use yeast has resulted in improvement in making bread! Also, this basic dough is a gift that keeps on giving! You can find the recipe here.

First up... sticky buns! I pre-made the dough and let it sit in the fridge for a day. Then the afternoon before Christmas day I rolled out the dough and prepped the buns into a pan. This way on Christmas morning I could pull them out of the fridge to rise while we opened presents.


 A hunk of dough, all it kneads is a little love...

 Mmmm, butter makes everything better. The brown sugar/butter/spice mix to
 go into the bottom of the pan.

 Spread the butter mix onto the bottom of the pan and scatter with nuts.

 Inside the dough I spread white sugar mixed with butter and cinnamon. 
I sprinkled with nuts and rolled it into a log.

Sticky, gooey, goodness...


To bring some balance to this decadent treat I pulled out my inherited cast iron skillet and made a frittata!

 Asparagus, onions and garlic sauteed on the stovetop.

Six eggs in a bowl with salt, pepper and a splash of cream. Whisk together.

Add egg mixture to the skillet along with tomatoes and feta. Stir and cook on 
the stove top til the bottom is set.
Bake in the overn at 350 for 20-3o minutes until eggs puff up and set completely.

Add coffee and your choice of breakfast meat and you've got Christmas brunch!


I had some left over dough so I took it and made some mini-loaves of cinnamon swirl bread.


 Roll out... roll out!

 Sprinkle with cinnamon and sugar.

Roll it up and place it into the (paper) bread pan. Bake at 350 until it sounds hollow.

Next up for me is using my new spherical cake pan to make a pinata cake stuffed with candy! My prior attempt failed b/c I over filled the pans. Also, on my wish list is this message cookie cutter set. Happy new year and happy cooking!


Beer Fest

I have an awesome friend. She works for the Michigan Brewers Guild. She has a really funny husband who also enjoys beer. I have another friend who was willing to drive 2+ hours to go drink tasty craft beer. All of these people came together for a day of fun in the Grand Rapids area. Sometimes things come together and make life wonderful. 

Anyone who's been to any event based around beer drinking- be it a Superbowl party or  the opening of the latest brew pub- knows that having good salty snacks is helpful. A favorite of many a beer festival goer is the pretzel necklace. For many this DIY treat is created by stringing pretzel twists onto some twine. I took things a step further an made pretzels to use in my necklaces. I used Alton Brown's recipe for my savory sticks. I didn't even need to double the recipe - I needed 4 necklaces- since I was making "sticks" instead of twists.


 Some of the basics... yeast not pictured.

 The yeast in bloom....


After adding the dry ingredients let the dough rise for 2 hrs. I learned somewhere that the best place to let dough rise is in your oven with just the oven light on. It's a warm dry place where the yeast likes to party. I now do this every time I make a yeast dough and it hasn't failed me (yet). Once the dough has just about doubled in size take it out and knead it till smooth.


  Portioned into 4 small balls to be rolled into ropes.

 I rolled each ball into a 18 inch rope, cut into 4 pieces and 
used a pipping tip to punch holes in one end.

This is a mixture of baking soda and water. 
Apparently boiling the dough in it gives the pretzels their signature taste.

I baked the pretzels for about 12 minutes in the oven and everything came out golden!

Pre-drilling holes into the pretzel rods made assembling the necklaces a breeze! Just cut some twine and hang them pretzels on down the line. [Ugh, I'd never make it as a rapper].

Here's some pictures of us Beer Festin' in action!


This is me fake smiling as I try to get a picture of my necklace. 
How uncomfortable I look.

 Cold day+cold beer=warm fuzzies.

 Will and Raj enjoy some beer while not enjoying my use of the camera phone.

 Cuh-razie beer flavors! This was my 2nd favorite of the day.

 Shannon and I are friends because she puts up with my odd behavior.

This is towards the end of beer fest so we were all a little slap happy.


posted under , , , , | 0 Comments

Something(s) New

It's that time of year when we begin to reflect on the days past and look toward the new year. It's also the time when family comes to visit. Or you go to visit family. Usually around this time I am also in the kitschen werking to create some goodies to send to my friends. This year, it didn't happen. What had happened was.... First, I couldn't find a DIY card design I liked. So I conceded and bought cards. Second, I took that kinda last minute trip to Florida with my sister. So I wasn't in the kitchen early enough to get my baking/concoction making done in good time. Thirdly, I got home and tried to speed through the process. But, once I was done the packages wouldn't have reach people before the holiday mail blackout. In the end... I had a lot of goodies on my hands and not enough people to give them to. Also, I will be trying to get out "Happy New Year, So Glad the World Didn't End," packages after the 2nd. So if you usually get something in the mail from my kitschen in December, just look for it in January. I might remake these things or do something new... again. Prefences/request... in box me.

Smitten Kitchen Brioche Pretzels

I have linked to and used multiple recipes from the Smitten Kitchen blog. I love it. I find that her recipes never steer me wrong. It's where I got my favorite chocolate cookie recipe from (that is until I get my hands on some chocolate discs and make that fancy Frenchman's recipe). Well, Deb (the writer), has recently published her book! And most of the recipe's in the book are new ones not found on the website!!! I didn't buy the book (too rich for my blood) but I did squee and snatch it up off the library shelf. On a related note, The Kitchen (another fav blog of mine) has this particular recipe posted as a sneak peek online.


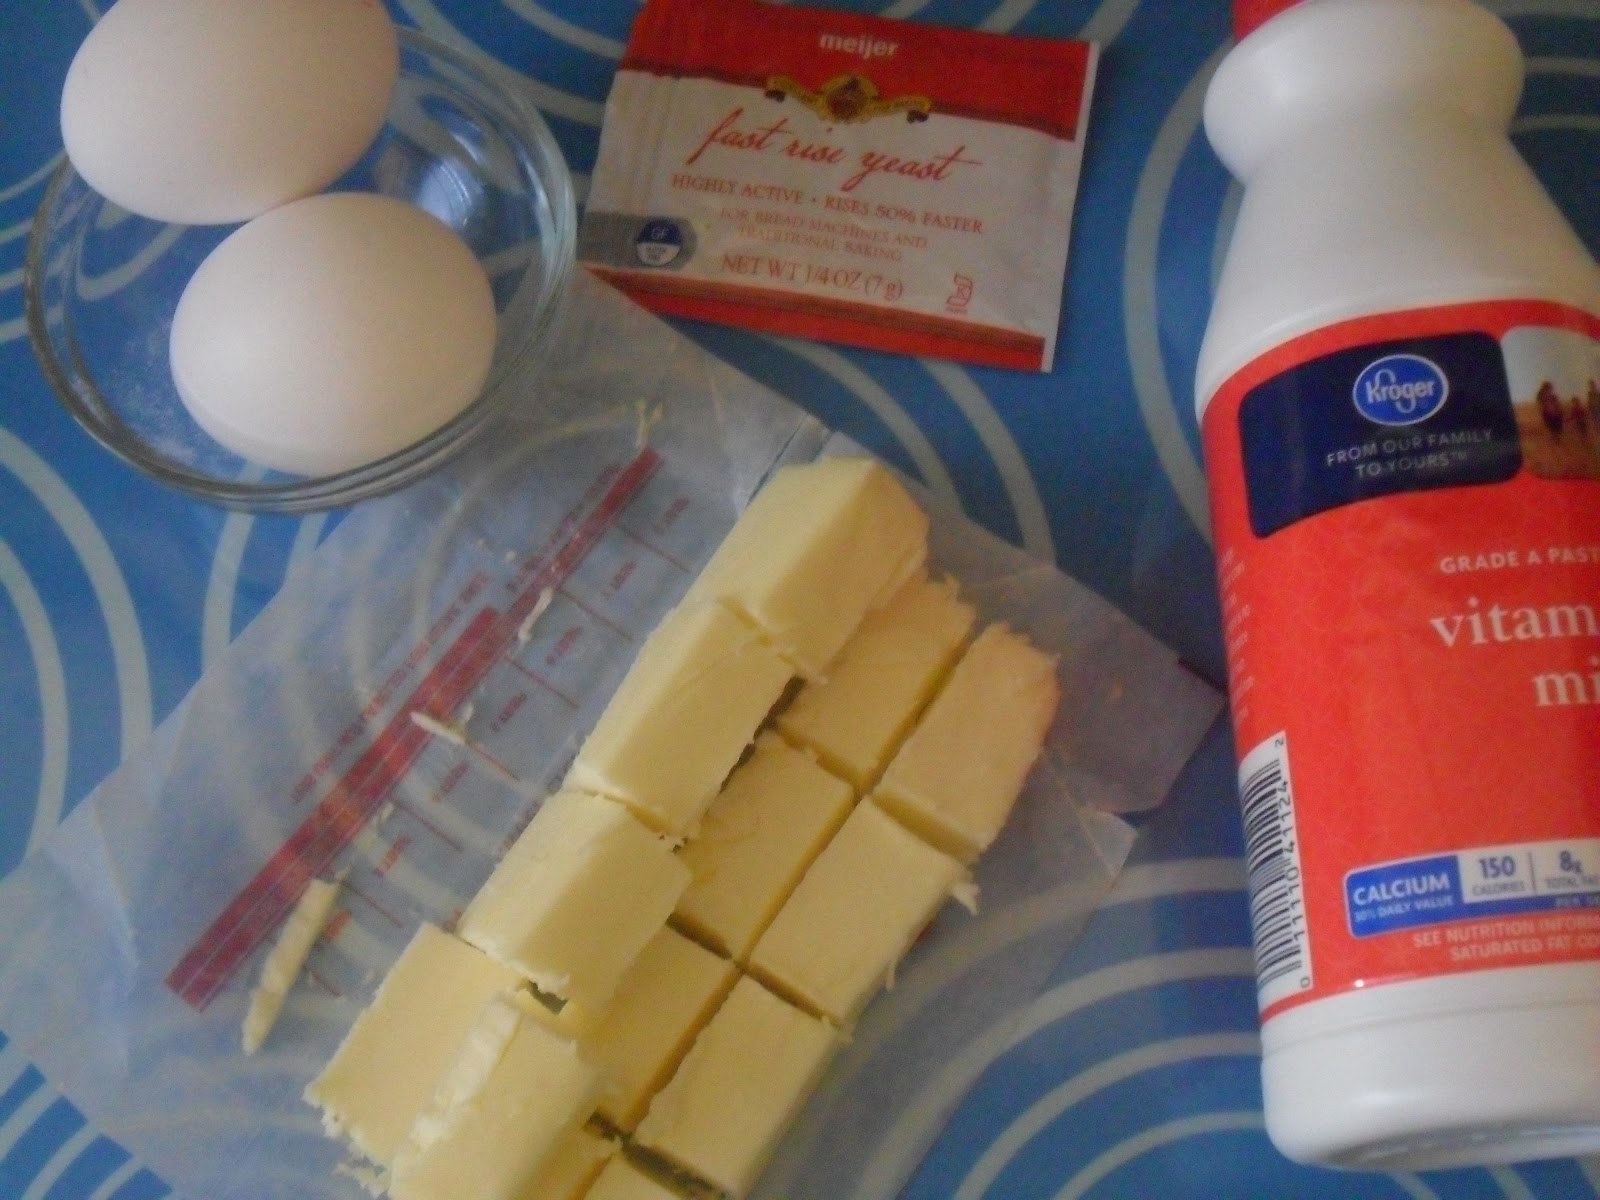
 You start out with some simple things: flour, sugar, egg, yeast, milk, butter...

 Let the yeast do it's work then add it to the dry ingredients.

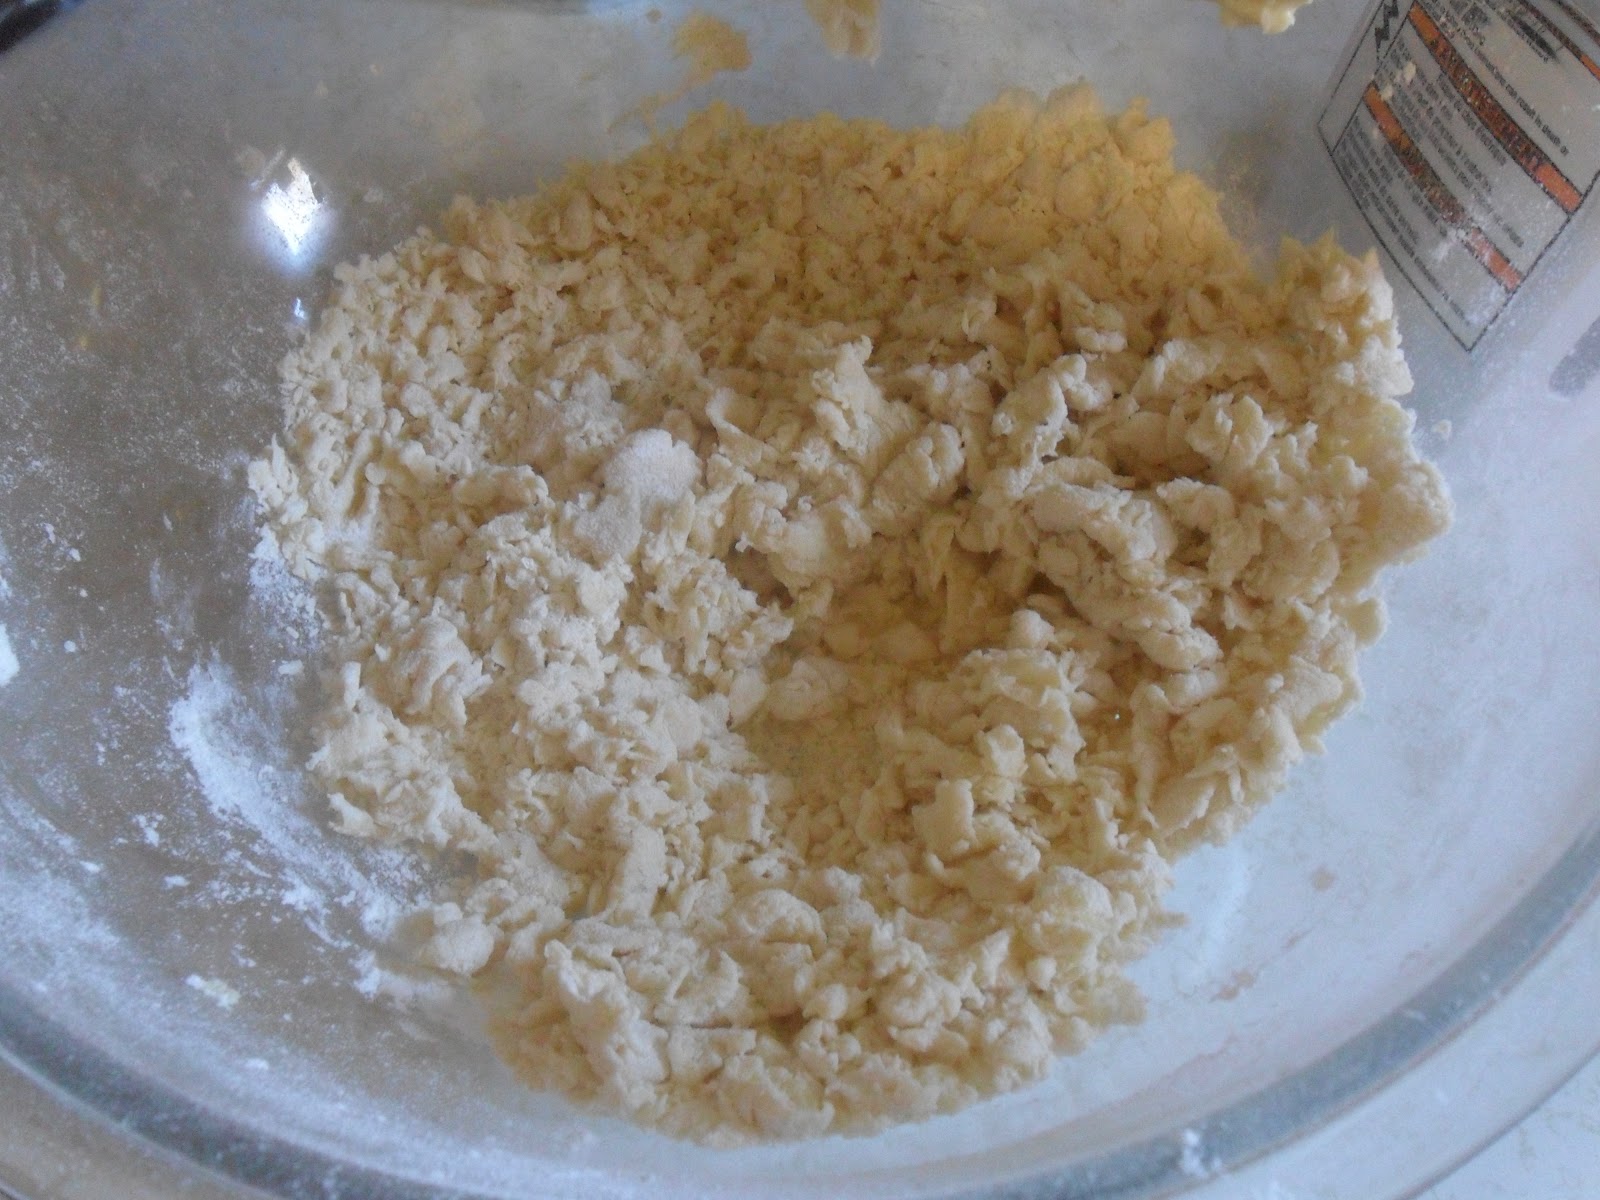
 Work it with the mixer until it forms a shaggy dough.

 After ten minutes of using your dough hook (or my case some manual labor) 
you get a buttery blog. Then you mix in the chopped chocolate.

 Let dough rise for 2 hrs. Come back, break it into 8 pieces and roll it out.

 Put a knot (not!) in it. Ok... just kinda make a circle, twist the top
 and fold over the ends.

Bake those babies w/ an egg wash on top for 8-12min.

Homemade Beer Marshmallows Covered w/ Chocolate & Pretzels

I know... I know... I went crazy this year. First I'm using yeast on multiple occasions. Now I'm adding gelatin into the rotation! It must be the end of the Mayan calendar!!!!  Seriously folks... I am trying to expand my kitschen skillz. While marshmallows didn't make it as big as cupcakes or donuts there has been a rise in gourmet sticky things.  Martha Stewart says they're so easy to make. Paula Deen says once you have a homemade marshmallow you'll never eat those $1/bag ones you can get at the grocery. I figured I've try my hand at making sugar pillows since I remember loving them as a kid. I used a 'grown folks' recipe I found online. Please note: sugar cooks quick and can burn even quicker. So it's important to get all your supplies out and ready before you begin. [On a side note I am thinking of making myself a shirt that says "Don't f&#k with my mise" b/c I'm that serious about that kind of stuff.]


 The basics: sugar, vanilla, gelatine, sugar, corn syrup, and beer.

 Make your gelatine bloom (mix gelatine and 4 oz. of beer in a bowl).

 Clip your candy thermometer in place. 
Put sugar, corn syrup & 2 oz beer in a bowl.

 Heat mixture to 212F. If it bubble up brush the sugar back down.

  It's important to prep your pan as this stuff is STICKY. 
I lined mine with wax paper, oiled it AND dusted it with powdered sugar.


Once the sugar bloom is at the correct temperature add it to the gleatine bloom. Whip that shizz on high for a bit. Add in vanilla. Continue whipping until it forms soft peaks.


Mmmmm fluff. 

 Pour the marshmallows into your pan and let it sit until it sets.

The next day get you other supplies ready... chocolate/chocolate chips, pretzels, and waxed paper. Crush your pretzels and put the chocolate in a microwave safe dish. This is usually where real chef's would tell you to temper your chocolate. I'ma try that in 2013 but for now... my chocolate doesn't have a shiny gloss.

 Let's get ready to dip baby, dip... marshmallows that is.

 Cut up the marshmallow "loaf" into as even sized pieces as possible. 

 Melt your chocolate and use a toothpick to dip your marshmallow into it. 

Spoon a lil' more chocolate over the top to cover and top with pretzel pieces.


Overall... these experiments weren't too bad. A bit more time consuming than I am maybe used to. But, I was brave and powered through. Next time I might add a different flavoring to the marshmallows... like chai concentrate. And the pretzels... I'd make 4 bigger pretzels instead of 8 small ones.


Give Thanks!

Gobble gobble.... It was Thanksgiving ya'll! Yes, as someone who wants to fight the cultural hegemony and legacy of cololinalism (deep thoughts yo!) I understand how difficult the history of Thanksgiving is. While I don't like that the holiday in some ways could be interpreted as a way to commemorate the forthcoming genocide of a people I do like to think I can take it and make it into something more positive on a personal level. The funny thing is... I'm not that big of a turkey fan. All those "Thanksgiving" foods? Not necessarily my favorites. Except for the mash potatoes, and I could eat those any day! I do love that the holiday gives my family a time to come together. I do love that the meal represents an abundance of all the wonderful things in our lives. I do love that Thanksgiving dinner represents a lot of what I love about food in general... a way to share culture and socialize. So let's talk about what I made!

As you may know I have a bit of a phobia of yeast. Last year I made sweet potato yeast dinner rolls for Thanksgiving and they turned out lovely. Then for Christmas I used a no-knead dough recipe to make sticky buns.... Slowly but surely yeast and I are starting to get along. So this year I want to make a roll but I also wanted to make biscuits. In the end I found a recipe that was a compromise. Lemon-y Angel Biscuits have baking soda, baking powder, AND yeast in them. The recipe claims they've got a biscuit texture with the light and fluffiness of a bread. I was curious enough to find out.


 The ingredients: milk, butter, yeast, lemon (zest and juice), 
sugar, flour, baking soda and baking powder.

 The yeast takes a bath.

 Whisk the dry ingredients and sugar together. 
Then add the lemon zest.

 Cut in the butter. You can use a pastry thing, 
your hands, or a food processor.


Add the yeast slurry to the milk and lemon juice. 
Add wet mix to the dry mix. Fold together.

Once the batter JUST comes together cover it, let it sit 
and rise in the fridge for 4+ hours.
Due to the lemon essence of this bread product I wanted to make something tasty to accompany it. And you all should know I love a compound butter! In the spirit of the season I made a cranberry butter. I took about a tablespoon of the cranberry sauce my mom made and blended it into some softened butter. Then I plopped the mix onto some wax paper and rolled into a log. Set it in the fridge to set... then we spread it onto the warm biscuits during dinner.


These biscuits were also delicious as leftovers. This is with some cinnamon 
honey butter I'd made before for other reasons.

I know you're probably wonder what we had for dessert... we had pie and cake. I made a bundt cake. I tweaked a recipe for a bourbon pecan cake. Instead of bourbon I added pumpkin. Then I added maple syrup for to the glaze in lieu of bourbon. Be forewarned... this is a pound cake and it's not healthy.


 First up... separate the eggs. All eight of them!

 Cream together sugar and 1 pound of butter (yikes!) then beat in egg yolks.

 Mix in pumpkin (I did a healthy 1/4 cup) and vanilla and almond extracts.


I'ma skip a few steps here. But just know I then whipped the egg whites to stiff peaks. Then I folded them in. 

Finally I folded in the dry ingredients (flour, cinnamon, nutmeg, cloves, baking powder).

 ...and lastly the pecans.

 Prep the bundt pan. These things are tricky... those grooves... 
you don't want only have the cake to release!

When putting the cake into the pan I did alternate layers of pecans and batter. I forgot how long it takes for these things to cook. A little under 2 hrs later I pulled the cake out and let it cool. After about 10 min. I inverted it out of the pan and onto a cooling rack. While the cake cooled I whisked up the glaze: 2 cups powdered sugar, 1 tablespoon maple syrup, a little milk.


 Mmmmm cake. It's not done yet!

 Pour glaze over cake and let is drip down the sides.

 After dousing it with glaze glazing the cake, I topped it with a few more pecans.


What are some of the must haves at your Thanksgiving day table? Do you like to experiment? How do you celebrate?

Older Posts Home

Followers


Recent Comments