Showing posts with label nuts. Show all posts

Season's Eatings

'Tis that time of year again... when I take a weekend out of my so busy life and dedicate a few days to creating edible gifts to express my love and appreciation for those close to me. This year made a set of four flavored salts:

- Pomogranete
- Vanilla
- Sriricha
- Lemon Lavendar

I also handmade cards to send with these small tokens of affection. Unfortunately, I was so busy drying salt that I forgot to take pictures of the process. I am out of practice on the food blogging front. I've been a busy bee outside of the kitschen! However, the whole thing is pretty simple. Take some salt, add the flavor you want into it and (if needed) dry it out in the oven. The times when you need to dry out the salt mixture is when you add a liquid (duh!!!). Making vanilla salt is similar to making vanilla sugar... take a bean, split, scrape and mix. No drying required. When drying the other salts I pre-heated the oven to 350, spread the mixture on a baking sheet and then turned off the oven once I placed the salt inside. It usually takes less than 10 minutes in the oven but, be sure to check because you don't want your salt mixture to burn!

On the home front I tried to keep things simple. I decided to make the no knead sticky buns I made a year or so ago. I am happy to report my continued attempts to use yeast has resulted in improvement in making bread! Also, this basic dough is a gift that keeps on giving! You can find the recipe here.

First up... sticky buns! I pre-made the dough and let it sit in the fridge for a day. Then the afternoon before Christmas day I rolled out the dough and prepped the buns into a pan. This way on Christmas morning I could pull them out of the fridge to rise while we opened presents.


 A hunk of dough, all it kneads is a little love...

 Mmmm, butter makes everything better. The brown sugar/butter/spice mix to
 go into the bottom of the pan.

 Spread the butter mix onto the bottom of the pan and scatter with nuts.

 Inside the dough I spread white sugar mixed with butter and cinnamon. 
I sprinkled with nuts and rolled it into a log.

Sticky, gooey, goodness...


To bring some balance to this decadent treat I pulled out my inherited cast iron skillet and made a frittata!

 Asparagus, onions and garlic sauteed on the stovetop.

Six eggs in a bowl with salt, pepper and a splash of cream. Whisk together.

Add egg mixture to the skillet along with tomatoes and feta. Stir and cook on 
the stove top til the bottom is set.
Bake in the overn at 350 for 20-3o minutes until eggs puff up and set completely.

Add coffee and your choice of breakfast meat and you've got Christmas brunch!


I had some left over dough so I took it and made some mini-loaves of cinnamon swirl bread.


 Roll out... roll out!

 Sprinkle with cinnamon and sugar.

Roll it up and place it into the (paper) bread pan. Bake at 350 until it sounds hollow.

Next up for me is using my new spherical cake pan to make a pinata cake stuffed with candy! My prior attempt failed b/c I over filled the pans. Also, on my wish list is this message cookie cutter set. Happy new year and happy cooking!


Sweet and Savories

Hey ya'll! Happy 2013! I took some time off and out of the kitschen. Now at the end of January, I'm just getting back into the swing of things. Work with me here peeps. I'm a bit rusty. So I'm taking things slowly and keeping it simple. No candy thermometer. No homemade caramel. Just some basics re-worked into new tasty treats.

On direct side effect of me not being in the kitschen is that the cupboards were not fully stocked. I didn't really go grocery shopping for almost the whole month! When I finally got inspired and energized enough to make something I picked out a chickpea recipe I'd been wanting to make for a while. I know I'm usually going on and on about sweet things I like. But seriously folks. When it comes to savory I loves my chickpeas. Mainly, I love hummus. But you know... I had already been eating hummus and veggie like they were a full balanced diet so I needed to switch it up a bit. This dish of braised coconut spinach chickpeas is another treat from the people at the Apartment Therapy family. Although it took me longer to make than the estimated time (I just couldn't get that can of coconut milk open for the life of me.) it was a pretty quick weeknight dinner.


 I got my cutting board out and started my mes. 

 My secret weapon? Micro-plane for the lemon zest and ginger!

 Add a little fat to a hot pan and saute til onions soften and things become fragrant.

 Drain the chickpeas and add them to the pan. 
Toss/stir til those beans are coated with yummy stuff.

Slowly add in spinach leaves and wilt them. After all the spinach is 
wilted add the coconut milk, lemon juice, and ginger powder. 
Simmer and let the flavors come together.


Uhhhh..... I molded my rice and wanted to take a purty picture but I was too hungry. So instead you get to see my last couple of bites.


Getting back in the kitschen felt so good I kept at it. The next day I decided to tackle a dessert. My mother doesn't share my love for decadently sweet desserts. This means that unless I want to eat a whole pan of brownies myself (but really, who doesn't?!) I have to make some compromises when making desserts for the sake of baking. However, she does love pistachios. She really loved the dark chocolate pistachio cookies I made not too long ago. I wanted to do something new though... and I took the half bag of pistachios we had in the kitchen and got to work. I made La Fuji Mama's mini-pies!


 I say it every time.... if you can get pre-shelled pistachios do it!

 Because I spent so much time shelling nuts, 
I thought it was okay to use store bought crust.

 I used a mini-fondant cutter to make florets to top the pies.

The liquid is part honey, an egg, milk, and sugar.


To assemble press the dough into your muffin tin. Add a bit of pistachios, a little of the honey mixture, some more nuts, a little more honey and top with the crust floret. Bake for about 20 minutes and you get this:


My mom didn't want me to take a "candid" shot of her enjoying her dessert.... but she did agree to hand model the pie for a cross section photo!


I was on a roll! So a couple days later I made it a trilogy. This time I didn't really have a recipe. Only an idea and a few leftovers in the kitchen. Originally I thought I'd be able to stretch the packaged pie crust to make these Indian spiced meat and vegetable pockets... errrr faux samosas (fauxmosas?). Like many good intentions that one lead to Hades. So I HAD to make the dough from scratch. I made a basic pie crust (extra cold butter, flour, salt, and ice cold water) and added a little ground pepper to the mixture. While the dough was chilling in the fridge I peeled and cut two potatoes. As the potatoes boiled I chopped up a shallot I had laying around and some garlic. I sauteed those things in a skillet and put them in a big bowl.

As I moved forward in this multi-tasking process I thought... mom's gonna want some meat. I took a bit of ground turkey and began browning it in the same skillet I'd sauteed the garlic in. By this time the taters were tender so I drained them and added me to the big bowl to cool. Once the turkey was browned and crumbled I drained the grease and seasoned it. I had a bit of left over Masala spice mix from when I made homemade chai last holiday season. I put that on the meat along with a little salt and pepper. I had some left over spinach leaves so I added that to the meat and let them wilt as it cooled.

With all the basics of the fauxmosa filling cooled I began to add it all together. In the big bowl I hard: sauteed garlic and shallot, ground, browned and seasoned turkey and potato cubes.... I then added a little more Masala spice, some EVOO, a little crushed ginger, and a handful of frozen peas. I mixed it all together and let it sit while I rolled out the pie dough. I used circular cookie cutters because it was easy. I spooned a little of the meat mixture into the center of on disc, rubbed a little milk around the edge and sealed another disc ontop. I crimped the edge with a fork and sprinkled come caraway seeds on top. I put the fauxmosas in the over at 350 for 20 minutes.


 Happy family... this is my fauxmosa filling.

Yeah... I made that. Not the chutney though. 
That came from the Indian grocer.

 FAUXMOSAS
  • shallot, chopped
  • 2 bulbs garlic, chopped
  • handful of spinach leaves
  • 2 potatoes, cubed and boiled til fork tender
  • 1/2 c frozen peas
  • 1 tsp Masala spice mix/curry powder
  • 1/2 tsp fresh ginger, grated
  • ground turkey, browned and crumbled


Something(s) New

It's that time of year when we begin to reflect on the days past and look toward the new year. It's also the time when family comes to visit. Or you go to visit family. Usually around this time I am also in the kitschen werking to create some goodies to send to my friends. This year, it didn't happen. What had happened was.... First, I couldn't find a DIY card design I liked. So I conceded and bought cards. Second, I took that kinda last minute trip to Florida with my sister. So I wasn't in the kitchen early enough to get my baking/concoction making done in good time. Thirdly, I got home and tried to speed through the process. But, once I was done the packages wouldn't have reach people before the holiday mail blackout. In the end... I had a lot of goodies on my hands and not enough people to give them to. Also, I will be trying to get out "Happy New Year, So Glad the World Didn't End," packages after the 2nd. So if you usually get something in the mail from my kitschen in December, just look for it in January. I might remake these things or do something new... again. Prefences/request... in box me.

Smitten Kitchen Brioche Pretzels

I have linked to and used multiple recipes from the Smitten Kitchen blog. I love it. I find that her recipes never steer me wrong. It's where I got my favorite chocolate cookie recipe from (that is until I get my hands on some chocolate discs and make that fancy Frenchman's recipe). Well, Deb (the writer), has recently published her book! And most of the recipe's in the book are new ones not found on the website!!! I didn't buy the book (too rich for my blood) but I did squee and snatch it up off the library shelf. On a related note, The Kitchen (another fav blog of mine) has this particular recipe posted as a sneak peek online.


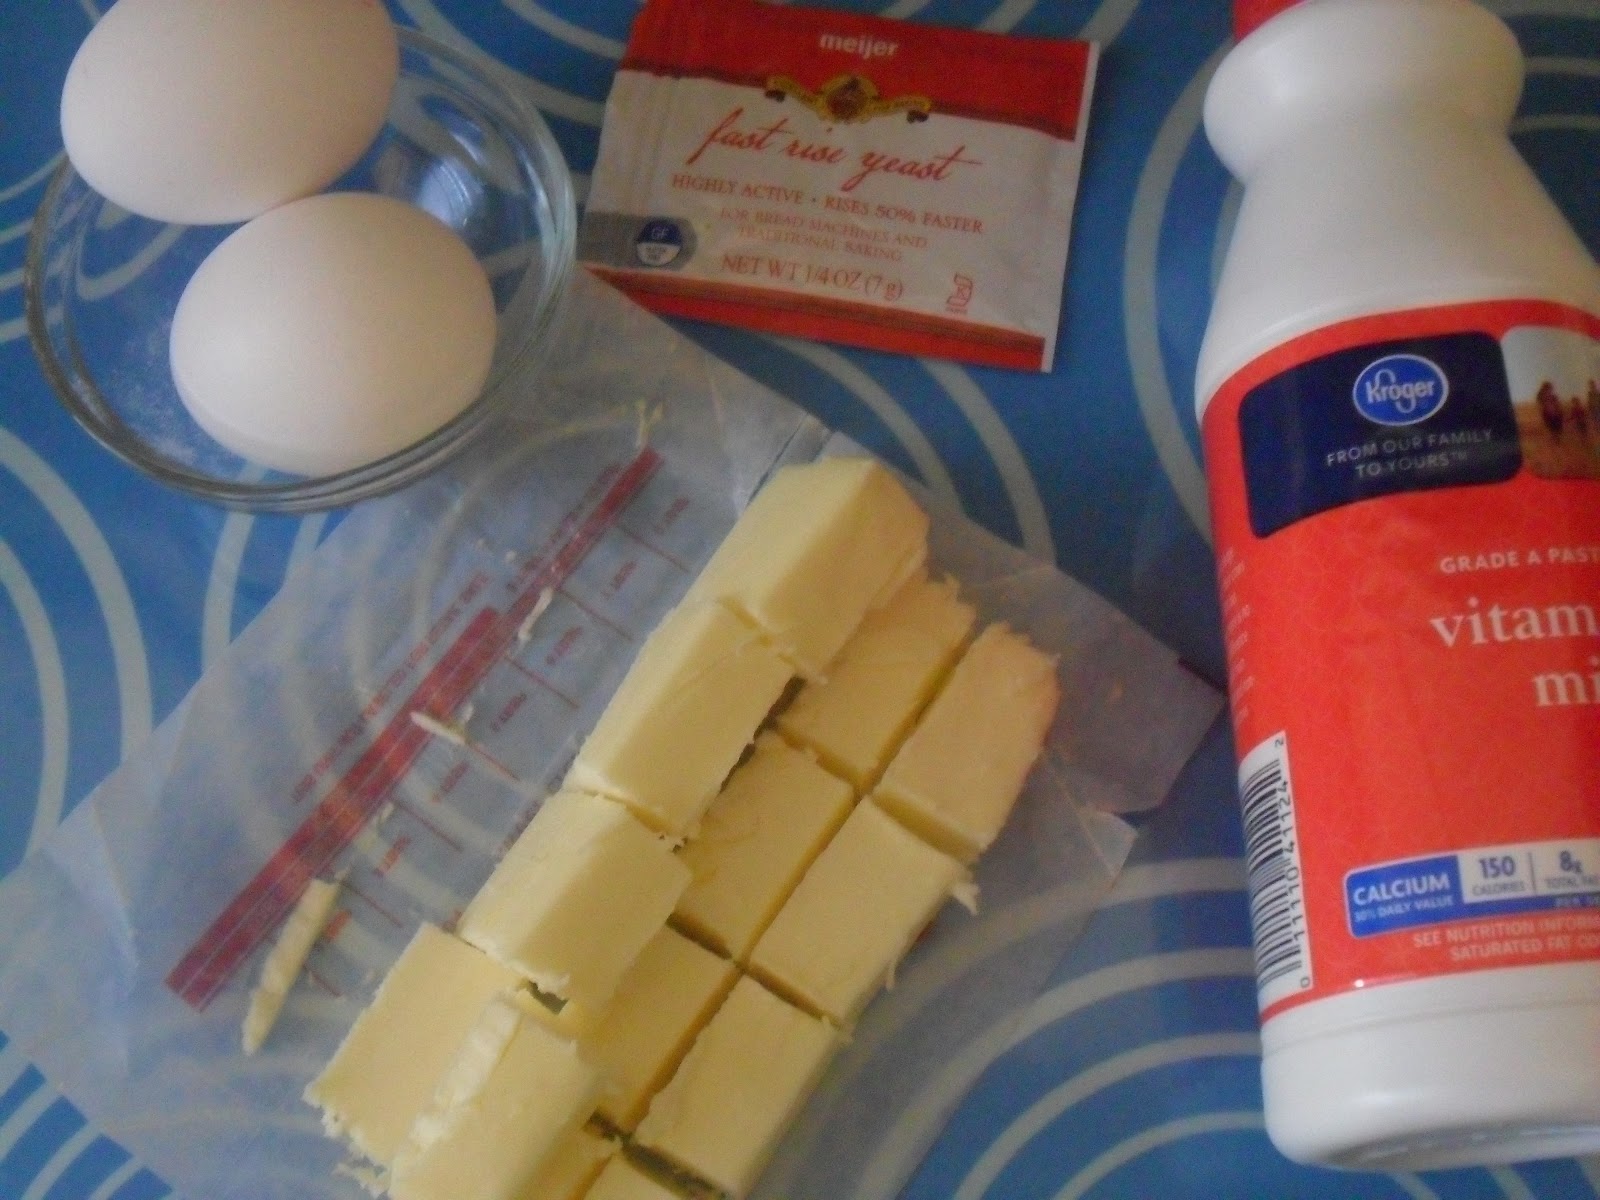
 You start out with some simple things: flour, sugar, egg, yeast, milk, butter...

 Let the yeast do it's work then add it to the dry ingredients.

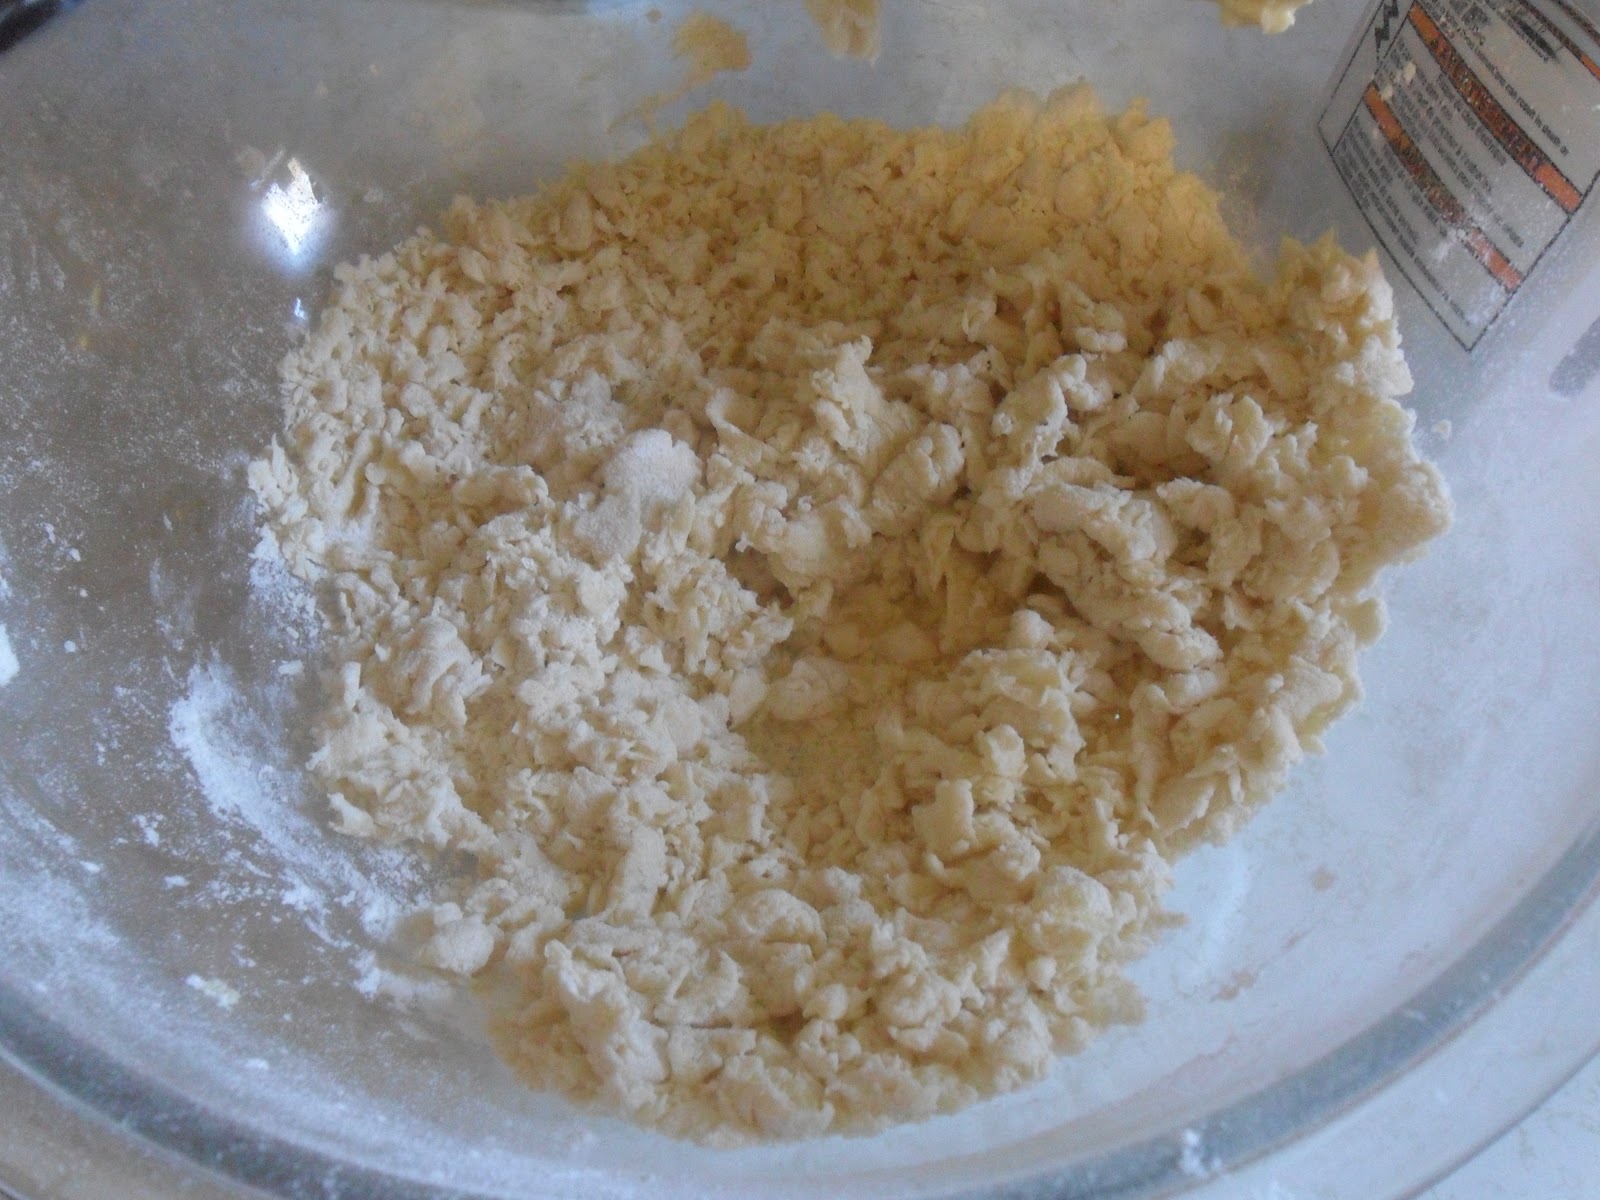
 Work it with the mixer until it forms a shaggy dough.

 After ten minutes of using your dough hook (or my case some manual labor) 
you get a buttery blog. Then you mix in the chopped chocolate.

 Let dough rise for 2 hrs. Come back, break it into 8 pieces and roll it out.

 Put a knot (not!) in it. Ok... just kinda make a circle, twist the top
 and fold over the ends.

Bake those babies w/ an egg wash on top for 8-12min.

Homemade Beer Marshmallows Covered w/ Chocolate & Pretzels

I know... I know... I went crazy this year. First I'm using yeast on multiple occasions. Now I'm adding gelatin into the rotation! It must be the end of the Mayan calendar!!!!  Seriously folks... I am trying to expand my kitschen skillz. While marshmallows didn't make it as big as cupcakes or donuts there has been a rise in gourmet sticky things.  Martha Stewart says they're so easy to make. Paula Deen says once you have a homemade marshmallow you'll never eat those $1/bag ones you can get at the grocery. I figured I've try my hand at making sugar pillows since I remember loving them as a kid. I used a 'grown folks' recipe I found online. Please note: sugar cooks quick and can burn even quicker. So it's important to get all your supplies out and ready before you begin. [On a side note I am thinking of making myself a shirt that says "Don't f&#k with my mise" b/c I'm that serious about that kind of stuff.]


 The basics: sugar, vanilla, gelatine, sugar, corn syrup, and beer.

 Make your gelatine bloom (mix gelatine and 4 oz. of beer in a bowl).

 Clip your candy thermometer in place. 
Put sugar, corn syrup & 2 oz beer in a bowl.

 Heat mixture to 212F. If it bubble up brush the sugar back down.

  It's important to prep your pan as this stuff is STICKY. 
I lined mine with wax paper, oiled it AND dusted it with powdered sugar.


Once the sugar bloom is at the correct temperature add it to the gleatine bloom. Whip that shizz on high for a bit. Add in vanilla. Continue whipping until it forms soft peaks.


Mmmmm fluff. 

 Pour the marshmallows into your pan and let it sit until it sets.

The next day get you other supplies ready... chocolate/chocolate chips, pretzels, and waxed paper. Crush your pretzels and put the chocolate in a microwave safe dish. This is usually where real chef's would tell you to temper your chocolate. I'ma try that in 2013 but for now... my chocolate doesn't have a shiny gloss.

 Let's get ready to dip baby, dip... marshmallows that is.

 Cut up the marshmallow "loaf" into as even sized pieces as possible. 

 Melt your chocolate and use a toothpick to dip your marshmallow into it. 

Spoon a lil' more chocolate over the top to cover and top with pretzel pieces.


Overall... these experiments weren't too bad. A bit more time consuming than I am maybe used to. But, I was brave and powered through. Next time I might add a different flavoring to the marshmallows... like chai concentrate. And the pretzels... I'd make 4 bigger pretzels instead of 8 small ones.


Holiday!!!!

My mother once in a while often puts in requests for baked goods for work. This year she as for a dozen cupcakes and 3 dozen cookies. I'm going to not even try to feign modesty and report I was happy to hear that at the annual holiday party her co-workers actually asked, "Ms. B, where are the cupcakes? Your daughter didn't make us any this year?"  My reputation grows ya'll! In the end she asked the day after for me to make 2 sets of goodies for her different program sites. Here's a report on what I made for her.

All Nutella Cupcakes

Now you know I loves me some chocolate and peanut butter. I also really like cookie butter/speculoos. One time I even made Oreo butter. All that is to say you should be able to guess I also love Nutella/hazelnut chocolate spread. I do! What I don't like about many of the Nutella cupcakes on the market is that they're usually just chocolate cake w/ Nutella buttercream. Not cool dude! I want that hazelnut goodness through and through. Fortunately, Robin of Bird on a Cake, feels the same way. She posted a GREAT way to incorporate hazelnut flavor into your chocolate cake recipe. The secret... (which is GENIUS in my mind) ADD HAZELNUT CREAMER!!!! My mind was blown you guys. So that's what I did.


 I promise I did NOT use a whole jar of Nutella in the frosting.

 Chocolate hazelnut cupcake, Nutella buttercream, toasted hazelnut garnish.


 Holiday Cookie Cut-outs

Once again I used the best ever sugar cookie recipe. I figure, it works so... meh. I bought an amazing set of nesting circular cookie cutters waaaaay back when I lived in DC. I pulled them out. First I made like 2 dozen teeny tiny circle because the plane was to make them look like peppermints. Then my mom informed me she needed the cookies to be ready that afternoon (I thought I was baking for the next day) so that changed things a bit. I bumped up my cookie cutter size and only iced about 1 dozen faux peppermint cookies.


 Cookies... and mo' cookies.

 A lovely royal icing border.

Colorful discs.


So yeah. I made these things for my mom. She took them to work and to share with others. They were enjoyed. Not a lot of process pics for this post b/c I used basic clutch recipes which I've shared before. But, my next post will include some new things... And you can be merry in knowing I continue to try my hand at different dessert creations.

Older Posts Home

Followers


Recent Comments