Showing posts with label salty. Show all posts

Season's Eatings

'Tis that time of year again... when I take a weekend out of my so busy life and dedicate a few days to creating edible gifts to express my love and appreciation for those close to me. This year made a set of four flavored salts:

- Pomogranete
- Vanilla
- Sriricha
- Lemon Lavendar

I also handmade cards to send with these small tokens of affection. Unfortunately, I was so busy drying salt that I forgot to take pictures of the process. I am out of practice on the food blogging front. I've been a busy bee outside of the kitschen! However, the whole thing is pretty simple. Take some salt, add the flavor you want into it and (if needed) dry it out in the oven. The times when you need to dry out the salt mixture is when you add a liquid (duh!!!). Making vanilla salt is similar to making vanilla sugar... take a bean, split, scrape and mix. No drying required. When drying the other salts I pre-heated the oven to 350, spread the mixture on a baking sheet and then turned off the oven once I placed the salt inside. It usually takes less than 10 minutes in the oven but, be sure to check because you don't want your salt mixture to burn!

On the home front I tried to keep things simple. I decided to make the no knead sticky buns I made a year or so ago. I am happy to report my continued attempts to use yeast has resulted in improvement in making bread! Also, this basic dough is a gift that keeps on giving! You can find the recipe here.

First up... sticky buns! I pre-made the dough and let it sit in the fridge for a day. Then the afternoon before Christmas day I rolled out the dough and prepped the buns into a pan. This way on Christmas morning I could pull them out of the fridge to rise while we opened presents.


 A hunk of dough, all it kneads is a little love...

 Mmmm, butter makes everything better. The brown sugar/butter/spice mix to
 go into the bottom of the pan.

 Spread the butter mix onto the bottom of the pan and scatter with nuts.

 Inside the dough I spread white sugar mixed with butter and cinnamon. 
I sprinkled with nuts and rolled it into a log.

Sticky, gooey, goodness...


To bring some balance to this decadent treat I pulled out my inherited cast iron skillet and made a frittata!

 Asparagus, onions and garlic sauteed on the stovetop.

Six eggs in a bowl with salt, pepper and a splash of cream. Whisk together.

Add egg mixture to the skillet along with tomatoes and feta. Stir and cook on 
the stove top til the bottom is set.
Bake in the overn at 350 for 20-3o minutes until eggs puff up and set completely.

Add coffee and your choice of breakfast meat and you've got Christmas brunch!


I had some left over dough so I took it and made some mini-loaves of cinnamon swirl bread.


 Roll out... roll out!

 Sprinkle with cinnamon and sugar.

Roll it up and place it into the (paper) bread pan. Bake at 350 until it sounds hollow.

Next up for me is using my new spherical cake pan to make a pinata cake stuffed with candy! My prior attempt failed b/c I over filled the pans. Also, on my wish list is this message cookie cutter set. Happy new year and happy cooking!


Aged Like a Fine Wine...

Another year... another birthday for my gramps. This year he turned the big 90!!! Almost a century old. My PaPa started from the bottom and is now livin' on top. It amazes me to think he's seen so many changes, from indoor plumbing to Skype! It is because of him I have the Lotto app on my phone! He might not like being on the computer (what he said about using Skype) but he does love it's convenience. Initially he was adamant about not having a party. But, when you turn 90 decades young people gonna turn up and do it big. In the end it was just family but, my family is BIG...the final headcount was 57 people!

As usual I was in charge of baking the cake. I started looking up recipes and decided to do a tea flavored cake. My gramps loves a cuppa tea- specifically Black tea with citrus. So I did some research (thanks Google) and found out the BEST way to infuse tea flavor is to steep it into the butter. But, if you use a recipe with milk you can also steep the tea in milk. BUT, the catch is to make it concentrated. So double up on those tea bags buddy! As the plan for this non-party changed and more people from both sides of the Mason Dixie line RSVPed we figure one double decker 9 inch cake couldn't cut it. So I put that cake batter into muffin tins and made cupcakes instead. Then I called Sam's an order a full sheet cake.


 That's FOUR teabags for less than 1 cup of milk.

 Making the wet mixture. What else makes makes it special? Sour cream!

 I cracked a couple eggs and mixed them in with the vanilla.


Then you add the dry mixture (flour, salt &baking powder)
to the wet (eggs, tea milk, vanilla & sour cream).

 Honey buttercream about to be in the mix!

 Just coolin'

Hollowed out and filled with blackberry preserves.

I also made my two favorite non-alcoholic summertime drinks: vanilla lemonade and ginger limeade. A simple syrup is this crafty mofos best friend! How do I make it? Simple a 1:1 ratio of sugar and water. Add flavor (ginger slices, lemon/lime rind, vanilla bean, etc.) and set it on the stove at medium low heat. Let that sucker simmer for about 20 minutes. Boom! Flavored sugar water LITERALLY!!!

But we cannot live on baked goods and citrus drinks alone. This meant it was time for tapas/appetizers/horsedevous. As you may no I never ever do anything nice and easy... I like to do it nice and complex! So I took some in season ingredients and some old flavor favorites of my PaPa and but a twist on them.


 Corn for the fritters shucked and sauteing with garlic and onion.

 Flour, salt, black pepper to give it some texture. 
Also because otherwise it'd be some new age latka!

 Corn mixture cooled and tossed with shredded zucchini.

Oh, adding egg AND milk?! 
Next time I'll just add egg, this batter was waaaay too wet.

 Mmmm... crunchy carb topping!

Added in some salt, pepper and parmasean cheese.

 Par-boil the raviolis and lay them out to cool so they don't stick together.


My apologies folks... I didn't do this spread justice with photojournalism. I was too busy having a not-party party to take a bunch of foodie pictures. There was so much family and a lot of gossiping catching up to do!


In the end we did this party right! We demolished most of the cake and left no trace of evidence!

Beer Fest

I have an awesome friend. She works for the Michigan Brewers Guild. She has a really funny husband who also enjoys beer. I have another friend who was willing to drive 2+ hours to go drink tasty craft beer. All of these people came together for a day of fun in the Grand Rapids area. Sometimes things come together and make life wonderful. 

Anyone who's been to any event based around beer drinking- be it a Superbowl party or  the opening of the latest brew pub- knows that having good salty snacks is helpful. A favorite of many a beer festival goer is the pretzel necklace. For many this DIY treat is created by stringing pretzel twists onto some twine. I took things a step further an made pretzels to use in my necklaces. I used Alton Brown's recipe for my savory sticks. I didn't even need to double the recipe - I needed 4 necklaces- since I was making "sticks" instead of twists.


 Some of the basics... yeast not pictured.

 The yeast in bloom....


After adding the dry ingredients let the dough rise for 2 hrs. I learned somewhere that the best place to let dough rise is in your oven with just the oven light on. It's a warm dry place where the yeast likes to party. I now do this every time I make a yeast dough and it hasn't failed me (yet). Once the dough has just about doubled in size take it out and knead it till smooth.


  Portioned into 4 small balls to be rolled into ropes.

 I rolled each ball into a 18 inch rope, cut into 4 pieces and 
used a pipping tip to punch holes in one end.

This is a mixture of baking soda and water. 
Apparently boiling the dough in it gives the pretzels their signature taste.

I baked the pretzels for about 12 minutes in the oven and everything came out golden!

Pre-drilling holes into the pretzel rods made assembling the necklaces a breeze! Just cut some twine and hang them pretzels on down the line. [Ugh, I'd never make it as a rapper].

Here's some pictures of us Beer Festin' in action!


This is me fake smiling as I try to get a picture of my necklace. 
How uncomfortable I look.

 Cold day+cold beer=warm fuzzies.

 Will and Raj enjoy some beer while not enjoying my use of the camera phone.

 Cuh-razie beer flavors! This was my 2nd favorite of the day.

 Shannon and I are friends because she puts up with my odd behavior.

This is towards the end of beer fest so we were all a little slap happy.


posted under , , , , | 0 Comments

This fat kid loves cake...

So remember how I made those oatmeal cookies with malt powder? I had some left over right? So what's a girl to do? I needed to cull my pantry in order to make room for more, newer, ingredients. I decided to take my malt powder and turn my favorite ice cream into a cupcake. Enter the Chubby Hubby cupcake.

For those not in the know... Chubby Hubby is a Ben & Jerry's flavor. It's got malted vanilla ice cream, chocolate covered PB filled pretzels, chocolate swirls and PB swirls. In short. It is awesome. Sweet, salty, and malty!

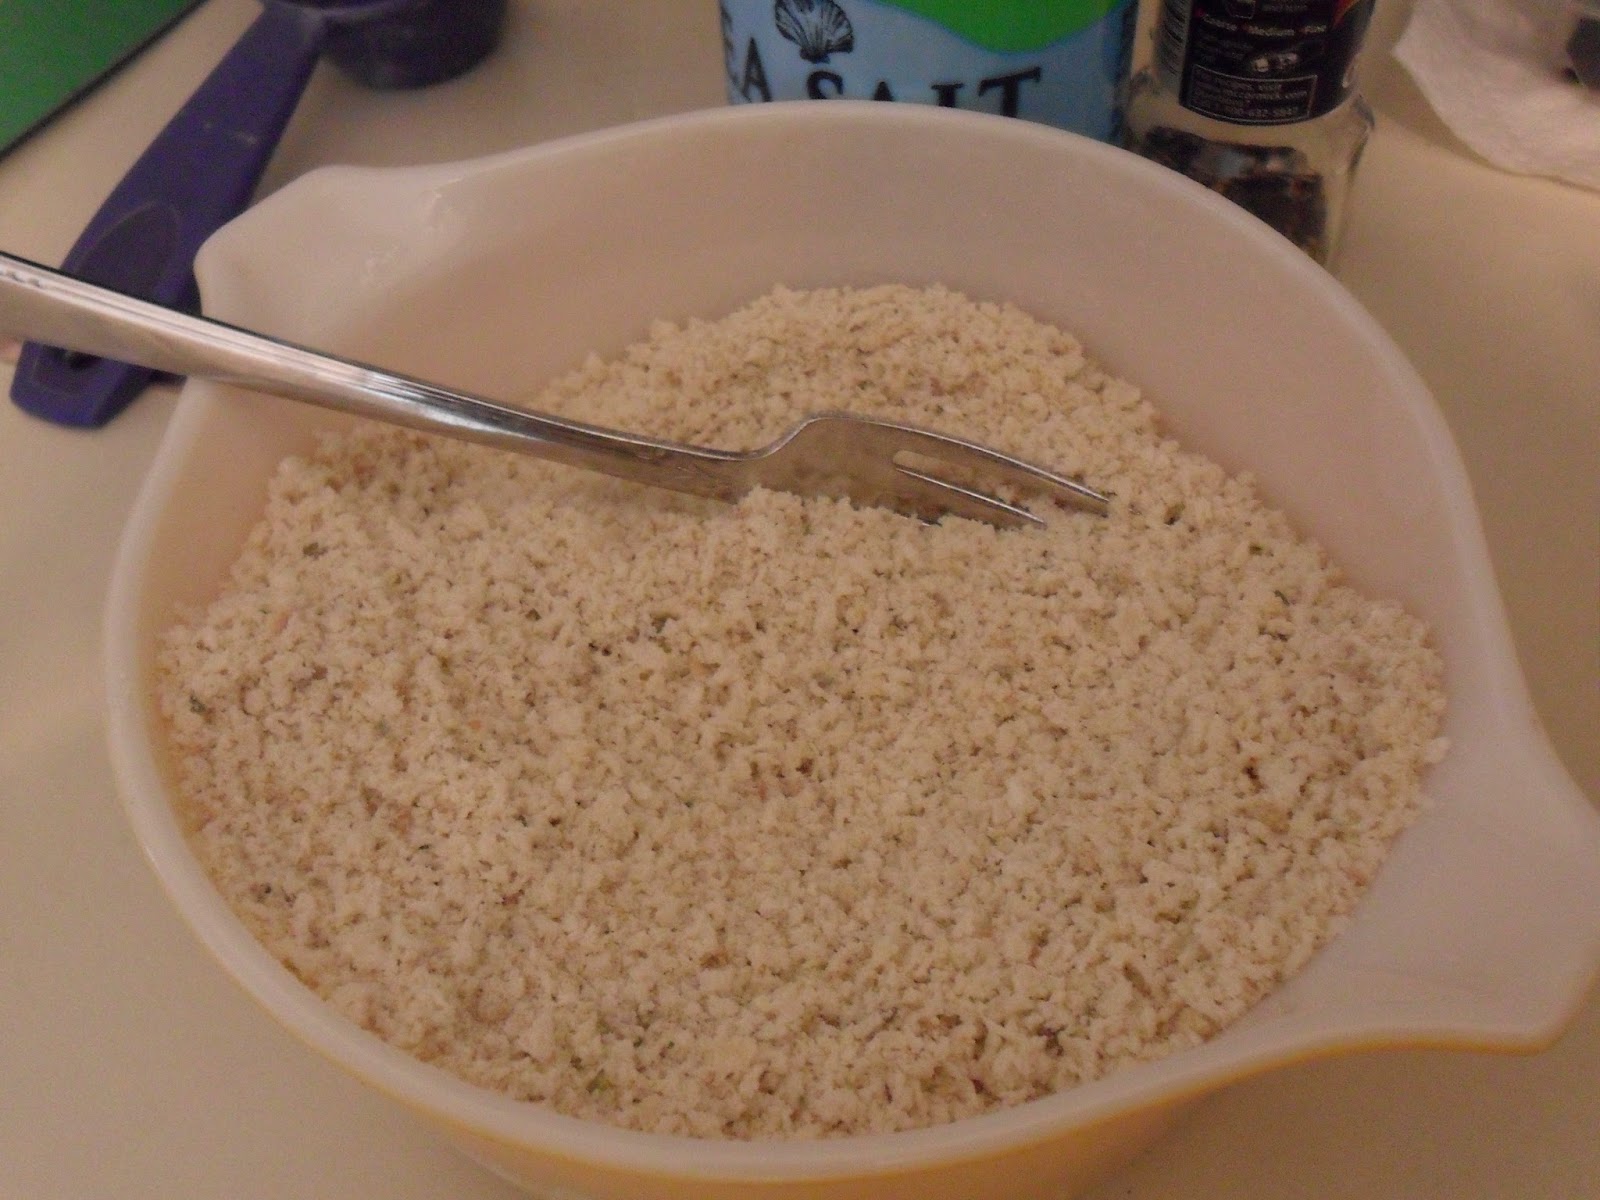
First task... integrating the pretzel element. I chose the crumb crust route. I figured it'd give a bit of texture to the cupcake experience in the form of a buttery, crunchy, bottom layer. So I took out my food processor and crushed up some pretzels.


Then I mixed them with a couple table spoons of melted butter and smooshed them into the bottom of my cupcake liners.


Next up? Chocolate! I used a chocolate cupcake recipe from How Sweet It Is. I wanted something with actual chocolate and cocoa powder. I'm a glutton like that. I also recently realized that I left my hand mixer's beater blades at the summer rental house my family stayed at so I wanted something that didn't require creaming butter and sugar for the batter.


 Mmmm... chocolate.

 Other basic baking ingredients.

 Whisked eggs, melted butter, milk, & vanilla are the wet ingredients.

 Add the wet mix to the dry mix [flour, baking soda, cocoa powder, salt].

Fold in the chocolate chunks & divide into cupcake tin.

But Neo Griot, what about the malt and PB elements. We've read about the chocolate and pretzel components. You promised us a flavor trifecta! Patience my friends... all in good time. Can I mention how long it took my to make these cupcakes? In my rush to clean out my pantry I didn't notice that some of the basic baking ingredients were missing. I ran out 1st ime to get the pretzels. Then a 2nd time to buy a little milk and some eggs (b/c I needed 3 and only had 2). The 3rd time was for powdered sugar. I was so unorganized in this whole process. I'm glad I baked on a Sunday with nothing else to do!

Although I bought a fancy cupcake hollowing out/filling plunger contraption I've found it's waaaaay easier to use my large pipping tip turned upside down to core cupcakes. Then I use that same tip fitted to a pipping bag to filly the cupcakes.
 
Third step... where to put the peanut butter? Initially I thought about having a peanut butter frosting. But after thinking about all the components I needed in this small space I thought against it. Instead I made a small amount of PB butter cream to use as a filling.See below:


Now let's get to the best part.... make some plain old vanilla butter cream.... Dump the remaining malt powder into it.... Beat the hell out of it with a fork. As you work on your arm muscles don't be upset you left your beaters in Michigan City, because now your forearms get that work out they've been needing!


 Cupcake assembly line!

Finally... it was time for a garnish? What's my rule about garnish? It should give you a hint as to what flavors to expect in your food. Is this what Alton Brown would do? Alex Guarnaschelli? I'm not sure. But it's how I role.


 A simple pretzel dipped in chocolate would work perfectly!!


And a half day's work was well worth it!

Older Posts Home

Followers


Recent Comments